Growing Dill in Florida, Is it Easy?
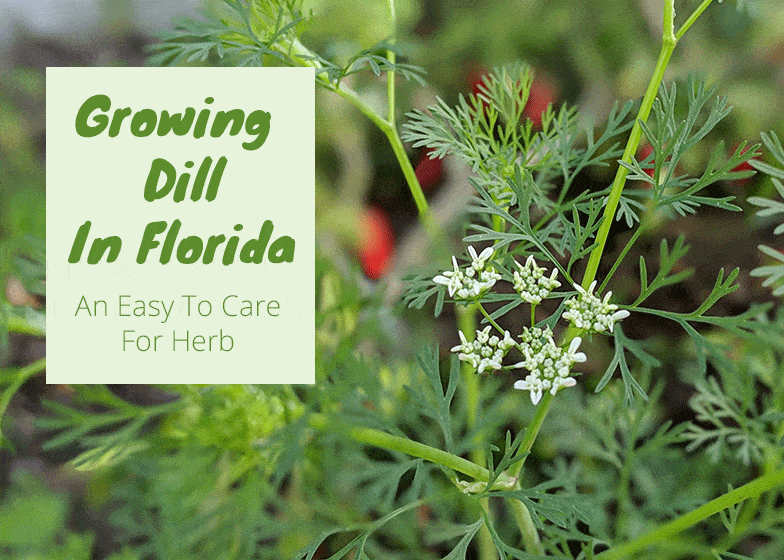
Growing dill in Florida is popular because of how easy it is to maintain. The variety that I’ve had to best luck with is ‘long island Mammoth’ It is mostly grown for its seeds and leaves. Dill is not demanding, and it only needs averagely fertile soil and water, and it will thrive under full sun.
Best Variety of Dill for Florida?
The dill variety that thrives the most in Florida is called Long Island Mammoth. It is a large-sized variety of the dill herb, and it is ideal as a pickling spice. It reseeds if allowed and it enhances the development of other garden plants like tomatoes and cabbages.
Best Time to Plant Dill in Florida
It is best to plant dill in the spring after the threat of frost has passed. The soil temperature should range from 60 to 70ºF. To encourage a constant supply of dill, plant the herb every few weeks until mid-summer.
| North Florida | March & August |
| Central Florida | February & September |
| South Florida | February & September |
Use these dates as guidelines. Dill can be planted outside of these dates as well but these are the ideal times to get it in the ground. Try to avoid planting during the hottest and coldest times of the year.
Can I grow Dill from a Cuttings?
The plant does not transplant well, so it is best to source its seeds instead.
After getting the seeds, scout for a planting site that enjoys six to eight hours of full sun. The spot should be the sunniest area in your garden. Although Dill can withstand partial shade as well it grows best in Full sun.
The herb is self-sowing, so you should pick an area that will accommodate new dill plants.
It should also have well-draining soil. You can plant dill close to onions or cabbages, but not carrots. Ensure that your dill is protected from strong winds.
Dill prefers soil that is slightly acidic, which means that the PH should be between 5.8 to 6.5. You can utilize PH strips to be sure of the PH of your soil, and you can adjust the levels to reach the ideal concentration.
To boost your soil’s drainage, you can add either homemade or purchased compost. Dill can also grow in somewhat poor sandy soils.
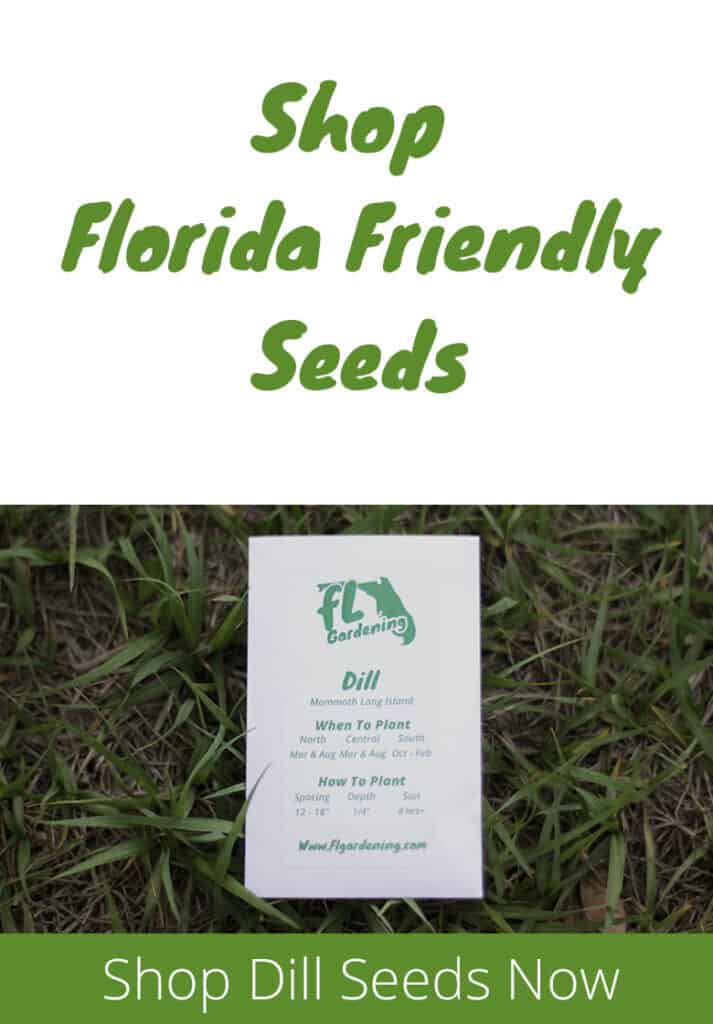
Once you are sure that the danger of frost has passed, it is time to sow the seeds. The seeds should be 18 inches apart and about ¼ inches deep, after which you should rake the topsoil over the seeds.
If you intend to harvest fresh drill throughout summer and fall, plant new crops after several weeks until around 90 days before the initial frost. Young dill plants typically appear after 10 to 14 days.
How to Take Care of Dill
Although dill does not like a lot of water, the soil should not get too dry. Wait until the soil is nearly dry water it. Rub a little soil between your fingers to determine its moisture level. If the plant turns yellow, you are probably over-watering it.
The seedlings will typically appear after 10 to 14 days. Wait 10 to 14 more days, and then thin the seedlings to leave one plant every 18 inches. Pull out any damaged or weak seedlings. You can snip off the top of the plant after it attains eight inches. This will help channel the dill’s nutrients outwards instead of upwards, and the plant will develop more leaves.
Dill will thrive when fertilized once in late spring. The ideal fertilizer combination is 15-5-10, that is 15% nitrogen, 5% phosphorous, and 10% potassium.
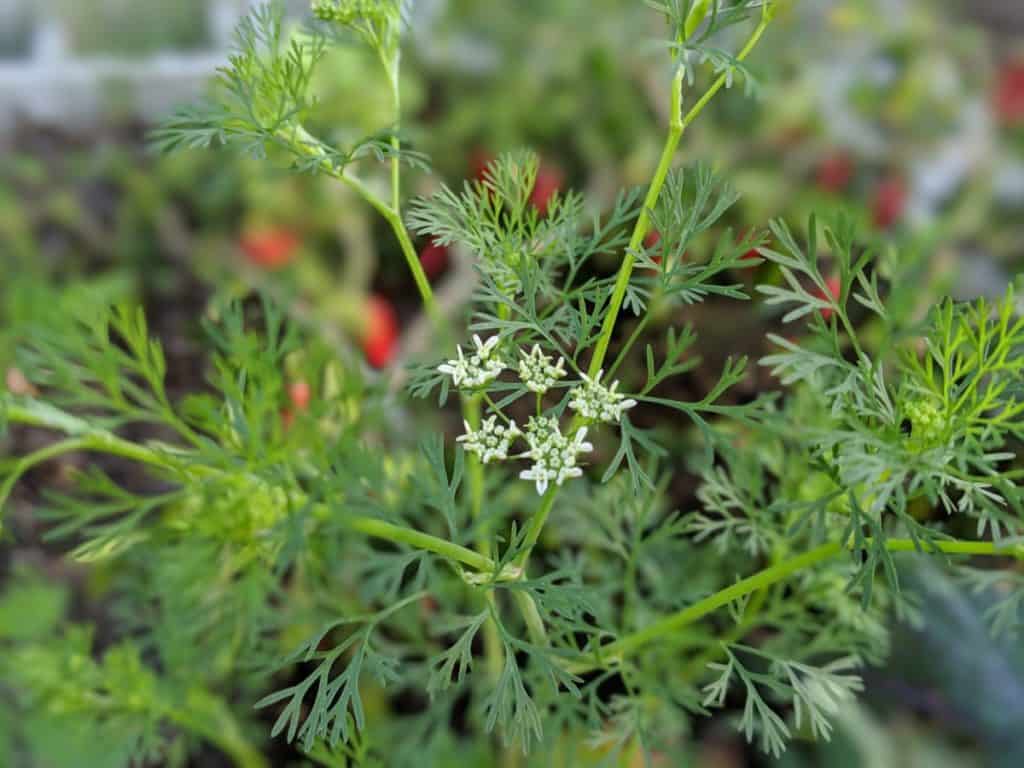
The herb has the most concentrated flavors before it flowers, and you can remove the initial batch of flowers once they appear.
The thin stems of the dill plant are vulnerable to snapping without support. If the forecast predicts bad weather or you notice the stems have begun to lean, you can tie the stems to a stake using a twine.
Observe the dill plants for the growth of any weeds which should be removed.
There are several pests that impact on the dill plant. Aphids infect the plant’s leaves and shoot tips, and cause stunted growth. The aphids suck the dill’s sap, and a heavy infestation can kill young plants. You can wash the aphids away with a spraying a powerful jet of water.
Tomato hornworms also target the stems and leaves of the dill plants. You can tell if there is a presence of the pests if you observe large black droppings on the surface below the plants. Anise swallowtail caterpillars also infect dill plants, but you can easily scrape them off.
When it comes to harvesting, aim to pluck the leaves before 90 days after planting is over to get the best flavor. The leaves can be refrigerated for up to a week although you can dry the leaves in an airtight container.
If you intend to harvest dill seeds, allow it to flower, and then wait several weeks to let the seed heads time to grow.
Can You Grow Dill in a Pot?
The dill herb is a fantastic plant to grow in containers. You have to mind the depth of your pot, however, as the plant grows a long tap-root. A pot that is under 12 inches will therefore not be ideal for growing dill. One to two feet is an okay size to start growing the plant.
Sprinkle about four seeds on the soil surface and cover them with a thin inch of soil. Position the pot in a space where it will absorb six to eight hours of sun and temperatures over 60ºF. Take the dill plants outside if the danger of frost has passed.
Moist the soil often during germination, and the seeds should sprout after seven days. When the seedlings attain a height of four to six inches, thin the container to a single seedling. Check the top inch soil to determine if it needs water. Outdoor pots may need daily watering. The potted dill plant does not require a lot of fertilization and fertilizing once every month will do.
Uses of Dill
Dill has endless culinary uses. It is popular as a garnish because it loses a lot of its flavor when cooked. It is also used in many pickling recipes, and it features in a variety of Asian and European cuisines. Dill’s medicinal attributes are attributed to the presence of elements like Vitamin A, folate, Vitamin C, fiber, calcium, and iron.
You Will Probably Also Enjoy
