Below I will show you the steps I took when building a hydroponic cloner. I will also show you things that I wish I changed on my first build.
Here is a list of items that you will need when building a hydroponic cloner:
- Air Pump
- Tubing
- Air Stones
- Sturdy Rubber Bin
- Net Pots
- Neoprene Collars
- Drill
- Hole saw that matches the diameter of your net pots
The entire build should take you less than an hour and the hardest part is drilling the holes in the lid of your container. So it’s not very difficult at all.
Steps To Building A Hydroponic Cloner
Listed below are the steps I took to build this cloner.
Step 1
Take your bin and layout your net pots on top. The number of plants that you can clone will change depending on the size of your container and the size of net pot you choose.
For my container, I chose to do 2′ net pots and I was able to fit 20 of them on this particular rubber bin.
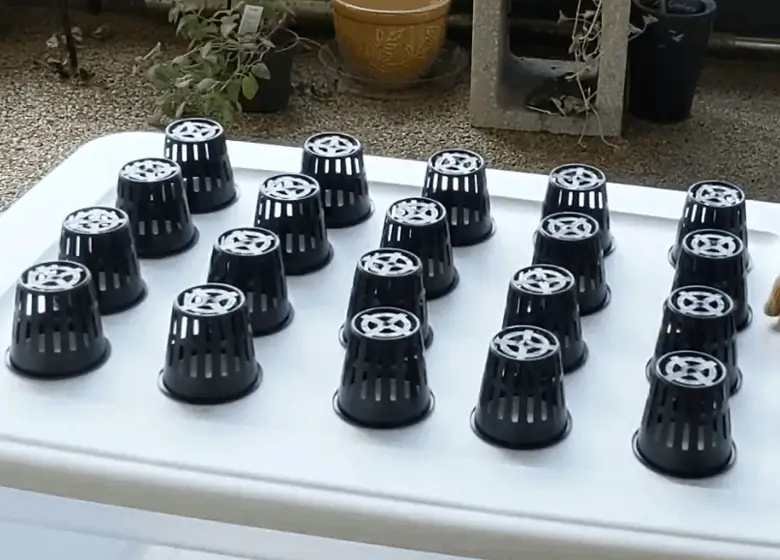
I chose to use 2′ net pots because I only wanted my plants in here for a short period of time. I want them to start roots and then I want to transplant them into soil.
If you wanted to grow your plants in here for a longer period of time you could definitely choose a larger net pot.
Step 2
Trace around your net pots and use your hole saw to drill holes for your net pots to sit in.
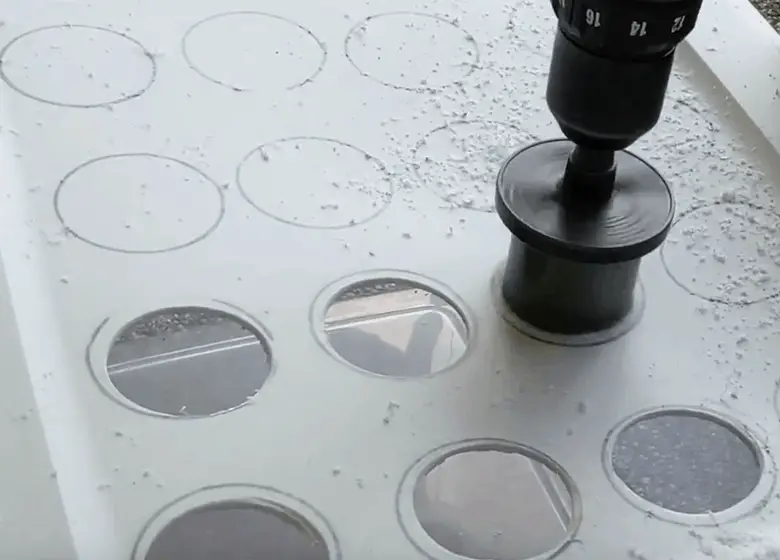
The little plastic shavings are going to go everywhere!
This is the hardest part of the whole build. You may not have a hole saw but they are reasonably priced at your local hardware store or you can take the easy way out and order on Amazon.
Step 3
Clean up all your plastic shavings and fill your tub with water.
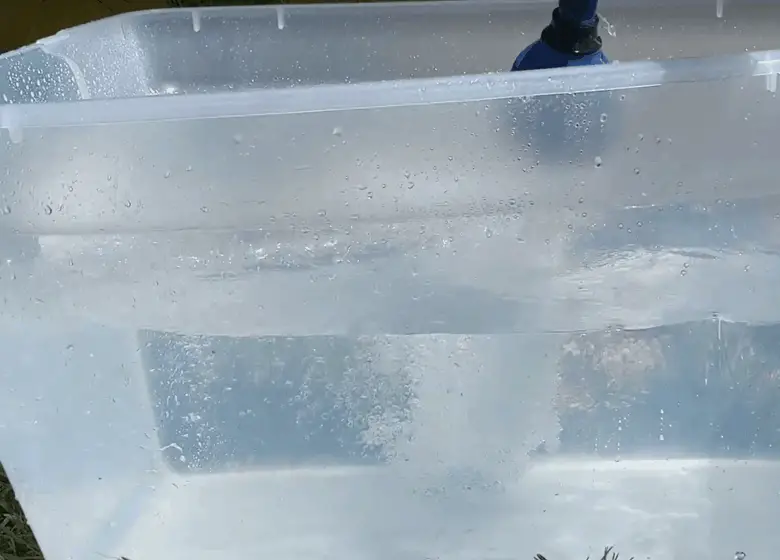
You want to fill it so that there is still a little bit of room at the top. You don’t want your net pots submerged in the water.
The idea is to have the airstones produce bubbles that pop and ensure that the bottoms of the cuttings are getting saturated with water but also fully oxygenated as well.
Step 4
Soak your airstones. According to the instructions with the stones, I received you want to soak your stones in water for at least 30 minsutes before use.
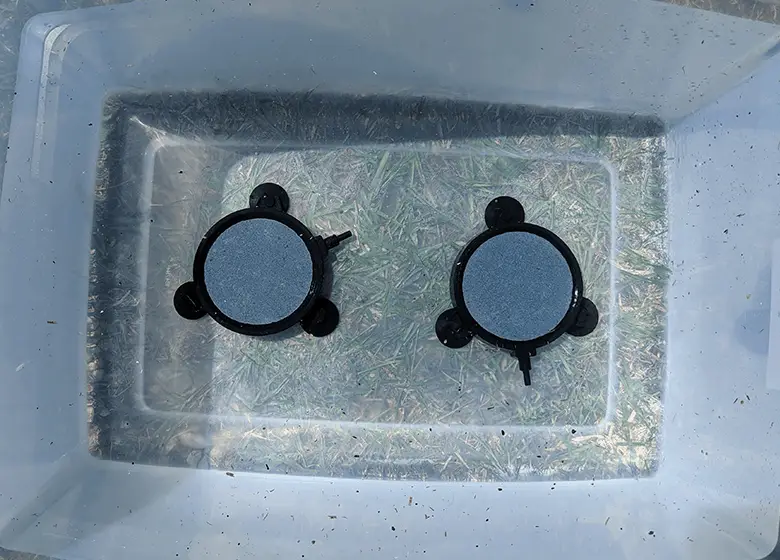
I chose to use two airstones for my build. This will change depending on the size of your container. The idea is to have the top layer of water be fully covered in tiny bubbles.
Step 5
Connect your air pump
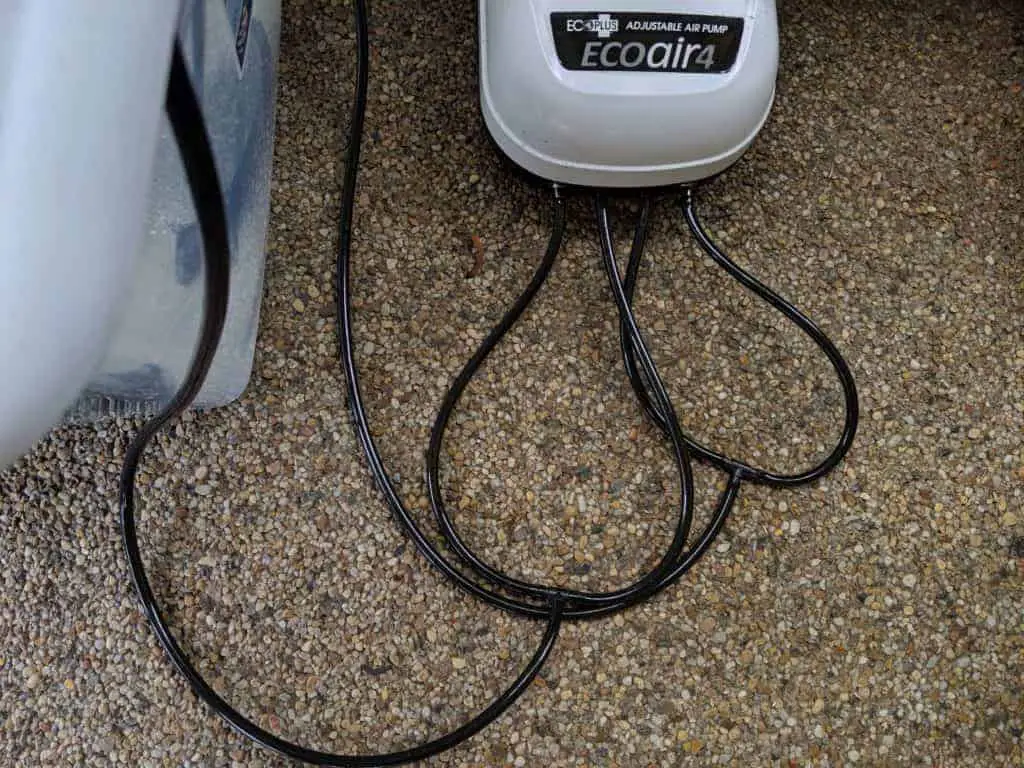
The pump I chose to get is a 6w pump(Check price on Amazon) with 4 connectors on it. I chose this pump based on the airstones I purchased and cost.
The stones recommended a pump with at least 6 watts.
To get the maximum potential out of this pump I bought T-joint connectors. They can be found in the aquarium section at walmart for a few bucks or on amazon.
Step 6
Insert your netpots, Plugin your pump, and take a few cuttings.
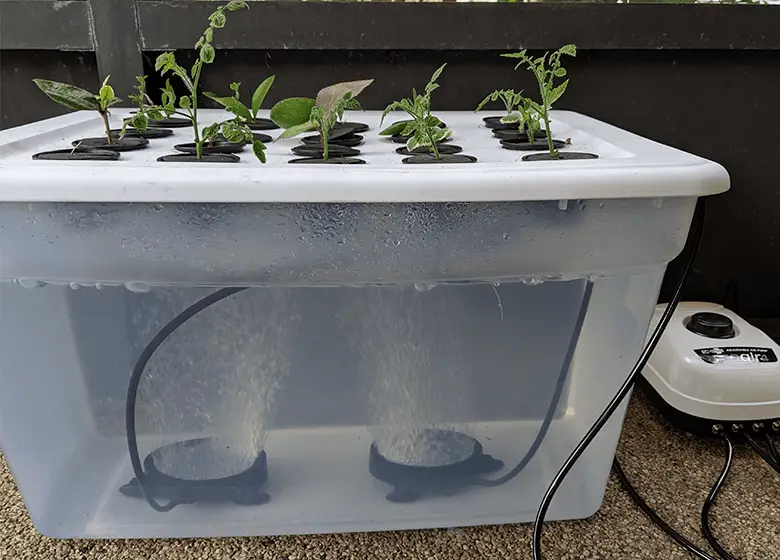
There are a few different types of cuttings that you can take. Softwood, Semi-hardwood, and hardwood.
softwood is the top, new green growth of a plant. It’s usually taken in the early spring or fall. It’s when the plant is still in a vegetative state.
Semi-hardwood cuttings are cutting that have new growth on them but also a hard woody stem.
And then there are hardwood cuttings, these are taken late in the growing season and contain only a woody steam.
A good cutting should be about 6 inches long and be taken on a 45° angle.
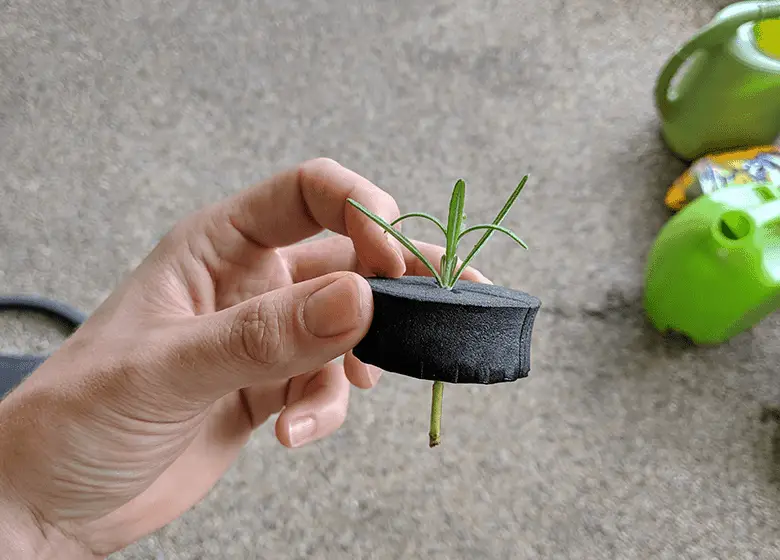
Neoprene collars are easy to use, insert your plant into the slit and make sure a few inches hang bellow.
Total Cost Of Cloner With Links
- Bin From Walmart – $5.99 (More on the bin later)
- 6W Airpump – $30 (Buy on Amazon)
- 2 4 inch Airstones – $18 (Buy On Amazon)
- 20 pack 2-inch net pots -$10.99 (Buy on Amazon)
- 2-inch Neoprene collars – $9.99 (Buy on Amazon)
- Air tubing with joints – $12.99 (Buy on Amazon)
- Grand Total: $87.96
Things I Learned After Building And Using This Cloner
After using this cloner for a few weeks, there are a few things that I wish i did differently when building this thing.
The major thing I wish I changed was the rubber bin that I chose to use. There are a few reasons I don’t like this thing. The first one is that it’s clear, this allows sunlight in and the also promotes algae growth.
It’s also very flimsy, the water bulges the sides and doesn’t allow the lid to close tightly. I also think this bin is too tall. A more shallow bin would allow more bubbles and it overall would be easier to use.
I also wish I built in a drain valve on the bin. You need to change the water in these cloners at least once every two weeks. This would make changing the water much easier.
I would also buy an additional submerged water pump in order to increase oxygen in the water. This pump is around $10 and I think it will really increase your success rate.
Should I Just Buy The OxyClone Instead Of Building A Hydroponic Cloner?
So, after I built my hydroponic cloner, I stumbled across this thing.

This is a 20 site hydroponic cloner for around 65 bucks!
It has everything that I used to build the DIY hydroponic cloner but at a cheaper price.
It comes with two air-pumps (One submerged), an airstone, tubing, neoprene collars, and a sturdy black bin.
If you have the DIY itch, go ahead and build one. But if I had to do it all over again I would probably just buy the Oxyclone(Buy on Amazon).
If you found this helpful you might also be interested in:

