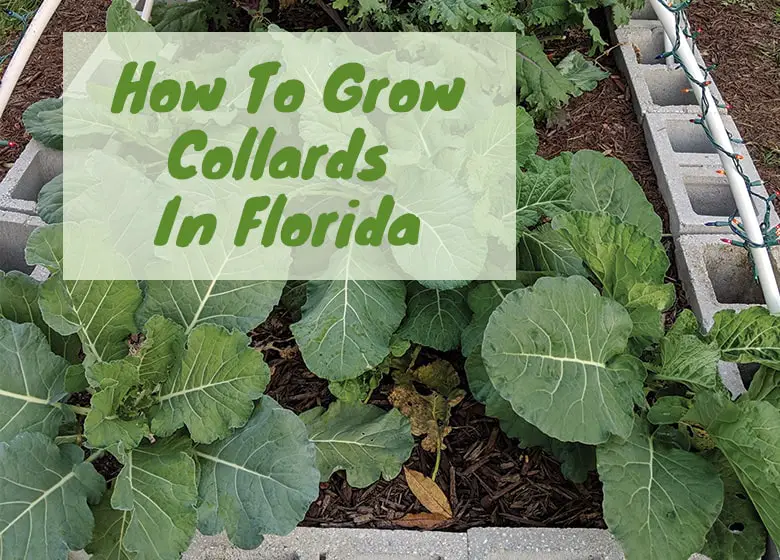
Growing Collards in Florida is stupid easy. One of the simplest vegetables that I’ve ever grown.
How To Grow Collards In Florida:
- Plant any time of the year in any part of the state.
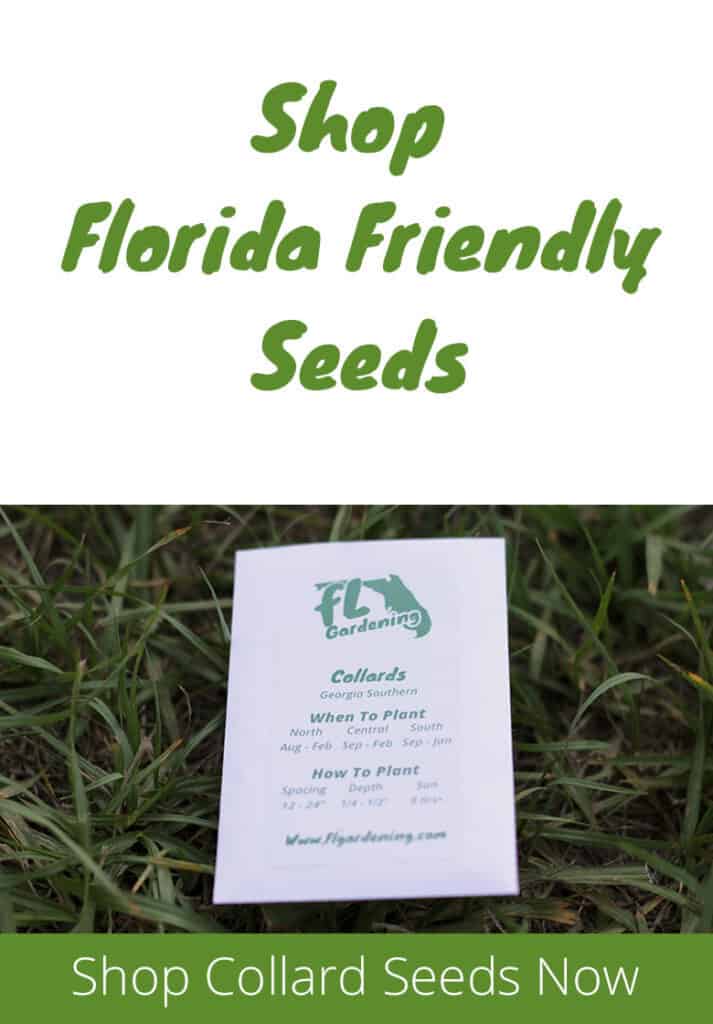
- Plant Florida friendly varieties like; Georgia Southern, Morris Heading, Top Bunch, and Vates.
- Can be grown from seed directly planted in the garden or transplanted.
- Plant in soil that has organic matter and a thick layer of mulch.
- Fertilize with nitrogen focused fertilizer.
- Harvest the lower, larger leaves.
When to plant collards in Florida
Collards are both cold hardy and bask in the warm Florida summer. South Florida gardeners have reportedly had great success during the summer months. They say that it’s one of the only greens they can get to grow during the summer time.
North Florida gardeners shouldn’t have much of a problem growing collards in the winter time either. Collard greens are cold hardy up until 5°F. In fact, the colder the weather the sweeter their leaves taste.
It’s been my experience in central Florida that I could plant these in October or in April and it didn’t matter. According to Robert Bowden, author of Florida fruit and vegetable gardening, you can plant collard greens any time of the year. But if you look at the IFAS Vegetable gardening guide they give planting times that are a little different.
- North Florida: Aug – Feb
- Central Florida: Sept – Feb
- South Florida: Sept – Jan
Like I said earlier, I haven’t followed those exact dates but I’ve still had great success growing collards at different times of the year.
What variety of collard greens grow best in Florida?
There are a number of different kinds of collard greens that grow in Florida. The university of Florida has done some really extensive research on growing collards in Florida. They have tested of 23 varieties but the most common are:
- Bulldog
- Champion
- Flash
- Georgia(Georgia Southern)
- Hi Crop
- Morris Heading
- Tiger
- Top Bunch
- Vates
I think out of all of these the most common for home gardeners is Georgia, Vates or Morris heading. I have seen seed packets for these guys at most garden centers.
I have always grown Georgia collards and have had really good luck with them. The Georgia variety of collards grow out and up, each plant can take up to 36″ of space according to IFAS. The Vates variety of collards is a more compact type of collard. These plants grow up more than they do out.
How to Plant Collards
Planting collard greens is easy. You can directly plant the seeds into the garden or you can buy little transplants from your garden center and pop them into the ground.
Be sure to give enough space for your plants to spread out. If you cram them too close together they will grow small and weak. But you always want to maximize space in the garden so I think we need to walk the line of just cramped enough.
IFAS recommends 36″ of space per plant. I have found that to be a little too much room. I think that if you plant in a zig zag pattern that you can fit more plants in that amount of room and still grow a healthy plant.
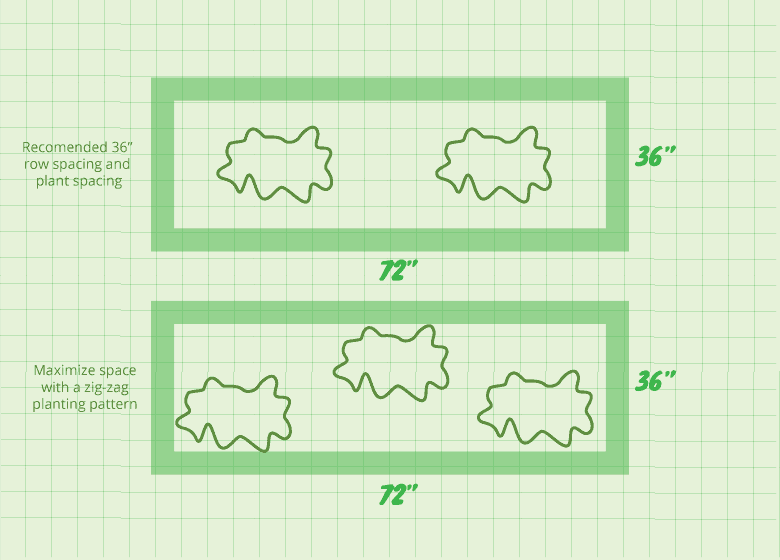
If planting from seed the tactic that I use is to just toss a bunch of seeds in the area that I want to grow them and then snip away the weak seedlings as they pop up.
Collard greens prefer as much sun as they can get. The minimum number of hours that they should get is 5. Any thing less than 5 hours of sun will cause your plants to be small and weak. but the more the better.
Best Soil for Collard greens
Collard greens like a soil that has rich organic matter with good drainage and airflow. They don’t like soil that is too muddy. They prefer a Ph of 6.0-6.8.
These are pretty generic soil requirments that most vegetables would grow in. If you want to grow collards in your Florida soil you certainly can but make sure that you amend your soil with organic matter. Florida soil is usually pretty sandy which means fantastic drainage but it needs a little something to hold on to the nutrients that you put in it and that’s what the organic matter does.
I’ve found good luck with adding peat moss and compost to the dirt. Also laying a thick layer of mulch. Mulching is so easy but I think often over looked.
Don’t forget to mulch!
Mulching helps with soil protection, water retention and adds organic matter that will slowly breakdown to help build a healthy soil.
If planting in a raised bed or pot this is the soil mix I like to use:
- 40% Peat moss
- 40% Compost
- 20% perlite
- Worm castings
- Mykos
This soil gives a good balance of organic matter, airflow, and drainage. The worm castings are there for an added nutrient boost and the mykos is a beneficial fungi. When added to the soil it helps your plants roots absorb more nutrients from the soil.
Pests and Diseases that attack Collard greens in Florida
The most common bugs that attack collards are:
- Aphids
- Caterpillars
- Whiteflies
Aphids are small, yellowish green, soft bodied bugs that live on the undersides of leaves. Caterpillars of all types will harm your plant by munching on the leaves and whiteflies will lay their eggs on the undersides of leaves.
Common diseases that attack collards in Florida are:
- Alternaria Leaf Spot
- Downy Mildew
- Black Rot
Alternia Leaf Spot will look black/brown circular spots all over the leaves. Downy Mildew will show up as yellow spots on the tops of leaves and a little fuzzy layer underneath the leaves. Black Rot is pretty much how it sounds, The plants look like they are rotting and turn black.
If you plant plenty of herbs and attract beneficial insects to your garden you shouldn’t have a problem with pests at all. I’ve noticed when I try to cram as many plants together as possible that I have less problems than if I tried to only grow one type of plant in that certain area.
However, if you must resort to chemical attacks you can use B.t, Neem oil and a copper fungicide to take care of most problems with collards.
How to fertilize Collard greens
Since Collards do not produce a fruit like a tomato does, they need different nutrients to grow a large harvest.
Nitrogen(N), Phosphorous(P) and potassium(K) each play a different role in the plant. These are the three values that you commonly see on most bags in the garden center. N-P-K.
Nitrogen works in the plant by promoting green leafy growth, phosphorous promotes flowering a fruiting and potassium is an all around health booster for the plant.
The best fertilizer that you can use to grow collard greens is one that is nitrogen focused. Phosphorous isn’t really all that important to getting a large harvest of collards.
I have been using a spray fertilizer for collards. I make a mix of Fish fertilizer and water. Fish fertilizer(Check price on amazon) is a 5-1-1 fertilizer that is super easy to use. Just mix a little in a spray bottle of water and spray it all over the plants and water with it. One word of advice though, be prepared to smell something awful when you open this stuff up.
How to harvest collard greens
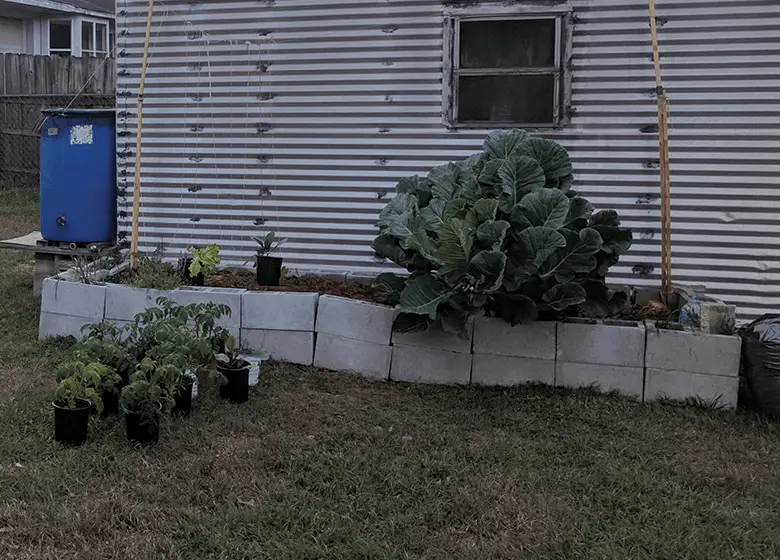
Collards take about 2-3 months to grow large enough so that you can harvest them. Collards will continue to grow for much longer than 2-3 months but as the plant ages it will begin to bolt.
This means that the plant will flower and when it does the leaves will lose their appetizing taste. Be sure to harvest many times before that happens, don’t be like me and let your collard go unharvested like in the picture above.
With a pair of shears you should snip off the lower, larger layer of leaves. If you wait too long to harvest though the leaves will begin to get tough and more bitter.
The best leaves to harvest are about ten inches to a foot long and are the lower leaves of the plant. You would not want to harvest the newest, more central leaves of the plant because this can damage the plant and stunt growth.
After you harvest you should eat your collards rather quickly. Keep them in the fridge to keep stay fresh for up to 2-3 days. I like eating fresh picked the best though.
Can you grow collards in Pots?
Yes you can grow collard greens in pots. Collard green roots go as deep as 2 feet so make sure that your pot is deep enough for their roots to spread. Also make sure there is enough room to lay a thick layer of mulch.
You Might Also Like: Best Food Forest Plants For Florida
